Punch List Template for Multifamily Construction, by Trade
A copy-ready punch list template for multifamily construction: set it up by unit, room and trade, write each punch item, and keep it working at 100+ units.

Punch List Template for Multifamily Construction, by Trade
You finish the walk on unit 214. Eleven items. You write them on the back of a work order, take a few photos, and move on to 215. By the end of the day you've walked nine units, and your notes live in three places: the clipboard, the camera roll, and your head.
That holds up on a 20-unit job. On a 140-unit building it falls apart by the second floor. Items get lost. The cabinet crew gets a text that says "kitchen stuff in 3B." Nobody can say for sure whether the chipped countertop edge in 214 ever got fixed.
The cure starts with a template that is the same for every unit and that any trade can read. Below: how to structure one, what each trade's section should hold, how to write an item that gets fixed, and where paper and spreadsheets stop working. A sample you can copy is in the middle.
How to Structure a Multifamily Punch List Template
Use three levels: unit, room, and trade. Each does a different job, and mixing them up is where most homemade templates go wrong.
Unit: One Unit, One Record
Every unit gets its own record. Never put two units on one page, and never run one long list for a whole floor. When an owner's rep calls and asks about 3B, you pull one record and you have the answer.
Room: The Walk Order
Walk by room, in the same order every time: entry, living area, kitchen, hallway, bedrooms, bathrooms, laundry and closets. A fixed order gives you a rhythm, and you miss less. If someone else picks up the walk halfway through, they know where you left off.
Trade: Who Fixes It
Every item carries a trade tag. The room tells you where to look. The trade tells you who owns the fix.
When the walk is done, sort by trade. The flooring foreman sees only flooring items, across every unit. The painter sees only paint. That's the whole trick: walk by room, send by trade. Here is a quick map of which trades touch which rooms. Adjust it to your scope.
| Trade | Entry / living | Kitchen | Bedrooms | Bathrooms | Laundry / closets |
|---|---|---|---|---|---|
| Flooring | x | x | x | x | x |
| Cabinets | x | x | x | ||
| Countertops | x | x | |||
| Paint | x | x | x | x | x |
| Finish carpentry | x | x | x | x | x |
| Doors and hardware | x | x | x | x | x |
| Appliances and fixtures | x | x | x |

The Sample Template (Copy and Adapt)
Copy the blocks below into a document, a spreadsheet, or your own system, one copy per unit. If you have several unit types, keep one master per type so each lists the right rooms.
Unit Header
| Field | Entry |
|---|---|
| Project / building / floor | |
| Unit number and type | |
| Walk date and walked by | |
| Walk type | Pre-punch / GC walk / Owner walk / Re-check |
Trade Sections
Check each line in every room where that trade worked, and mark it pass or fail. A fail becomes a punch item (the next section covers how to write it).
Flooring
Look from standing height, then crouch and look across the floor in side light.
- Surface clean, no scratches, gouges, stains, or burns
- Seams tight and even, no open joints or gaps
- No lifting, rocking, cupping, squeaks, or hollow spots
- Transitions at doorways installed, secure, and the right height
- Edges at walls, cabinets, and tubs tight or covered by trim
- Carpet stretched tight, no ripples, seams not visible
- Tile grout lines even, no cracked or loose tile
Cabinets
Open and close everything. Cabinets can look perfect and still bind.
- Every door and drawer opens, closes, and stays aligned, with even gaps
- Soft-close hardware works
- No chips, scratches, or dents on faces and frames
- Boxes level and plumb, tight to the wall, filler pieces scribed
- Shelves and shelf pins in place
- Pulls and knobs installed, tight, and in consistent positions
- Toe kicks and end panels attached and touched up
- Interiors clean, no screws or debris, no damage under the sink
Countertops
Check edges and corners first.
- No chips, cracks, scratches, or stains on surface or edges
- Seams tight, flush, and color-matched
- Overhang even; sink cutout edges clean; sink secure and sealed
- Backsplash and wall joints caulked
- Top fully supported, no flex or rocking
- Protective film removed and surface cleaned
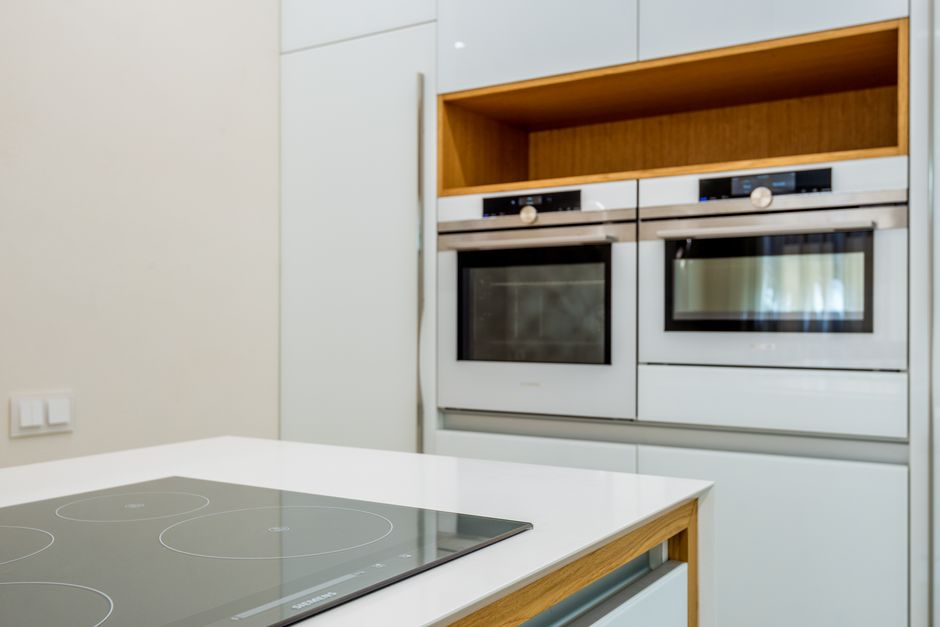 Photo by Max Vakhtbovych on Pexels
Paint
Paint is judged by light. Look in daylight if you can, and hold a work light low against the wall.
- Walls and ceilings even in color and sheen, no roller marks, drips, or missed spots
- Cut lines sharp at trim, ceilings, and corners
- No paint on hardware, windows, floors, or fixtures
- Nail pops, cracks, and dings patched and painted
- Touch-ups from other trades blend in
- Closet interiors, shelves, and doors painted
Finish Carpentry
- Baseboard, casing, and crown tight at joints and corners
- Nail holes filled and painted; gaps to the wall caulked
- Closet shelves and rods level and secure
- Window sills and stools secure
- No hammer marks or split pieces
Doors and Hardware
- Every door swings freely and latches without force
- Even gaps at the head and sides, no rubbing or sticking
- Locks and deadbolts work with the supplied key
- Hinges tight, screws set, finish matches
- Door stops installed, no wall damage behind doors
- Closet doors (bifold, sliding, pocket) track and close properly
- Entry door sweep and threshold in place
Appliances and Fixtures
- Range, hood, dishwasher, refrigerator, and microwave installed, level, matching the spec, and running
- No dents, scratches, or missing parts; packing film and tape removed
- Faucets: hot and cold correct, no drips, handles tight
- Toilets flush, don't rock, and don't leak at the base or supply
- Tubs and showers drain, trim is tight, and caulk is clean
- Light fixtures installed, all lamps working, covers on
- Bath accessories (towel bars, paper holder, mirror) secure and level
Your job will have more trades than these seven. Add electrical, plumbing, drywall, and windows in the same format. Keep each section short enough to use standing up.
How to Write a Good Punch Item
A checklist line tells you something failed. A punch item tells someone else how to fix it without calling you. Every item needs five fields.
- Location. Unit, room, and where in the room. "Unit 214, kitchen, upper cabinet left of the range hood."
- Description. What is wrong, in plain words, with enough detail to find it and fix it.
- Photo. One wide shot that shows where it is and one close shot that shows what it is.
- Responsible trade. One trade, picked on the walk. Not "other" and not "TBD." An item with no owner is how callbacks happen.
- Status. Where the item stands right now.
A log you can copy:
| Item | Location | Description | Trade | Photo | Status |
|---|---|---|---|---|---|
| 214-01 | Kitchen, upper cabinet left of hood | Door face scratched through finish | Cabinets | Yes | Open |
 Photo by Towfiqu barbhuiya on Pexels
Good Item vs. Bad Item
| Weak item | Strong item |
|---|---|
| Cabinet damaged | 214 kitchen, upper cabinet left of hood: door face scratched through the finish, about the length of a hand. Replace or refinish the door. |
| Paint bad | 214 bedroom 2, wall behind door: roller lap marks and a missed patch at the ceiling line. Recoat the full wall. |
Rules That Keep Items Fixable
- One defect per item. Two problems on one line means one gets forgotten.
- Say what "fixed" looks like. "Door swings free" beats "adjust door."
- Describe, don't judge. "Gap at the end of the baseboard" works. "Sloppy trim" starts an argument.
- Never write "see photo" instead of a description. Photos get separated from notes. Write both.
Status Values
- Open: found, assigned, not yet fixed
- Fixed: the trade says it's done, waiting for a re-check
- Verified: someone other than the trade checked it and it passes
- Failed re-check: checked again, still wrong
- Disputed: the trade says it isn't theirs or isn't a defect, so it needs a decision
The key line is between Fixed and Verified. The trade that did the work shouldn't be the one who closes the item.
Where Paper and Spreadsheet Templates Break Down
Paper and spreadsheets work on small jobs, where one or two people hold the whole picture in their heads. Past a certain size, specific things go wrong.
- Copies drift. Three people each have their own version of the sheet. Nobody knows which one is current.
- Photos live somewhere else. The picture is in a camera roll and the line item is in a file. Matching them up later is slow.
- No signal in the building. Concrete stairwells and unfinished floors kill reception, so a sheet that needs a connection stalls where you need it. Paper survives, but then someone retypes it at night.
- Sorting by trade is a chore. Each foreman wants "my items, all units." Getting that from 140 pages or one giant sheet means hand cleanup.
- History gets overwritten. When a status cell changes from "open" to "done," you lose who changed it, when, and whether anyone checked. Closing an item becomes as easy as typing over a cell.
- Patterns stay hidden. If the same crew misses the same item on unit after unit, you can't see it from separate sheets.
None of this means the template is wrong. The structure works on paper or in any tool. The trouble is the data once hundreds of units and dozens of people touch it.
From Template to Repeatable Unit Turnover Record
A template gives you a consistent walk. A turnover record is what's left when the walk, the fixes, and the re-checks are all tied to one door.
- Use the same template on every unit. Same rooms, same order, same trade sections. Differences should come from the unit type, not from who walked it.
- Record a verdict on every line. Pass or fail, not a blank. A blank could mean "fine" or "didn't look."
- Attach evidence. A photo for every fail, and a record of the final walk. A video walkthrough with the checklist shown on screen is the strongest version. See how video walkthroughs with the checklist overlaid work.
- Log the re-check. When an item is fixed, add a new entry showing who checked it and when. Don't overwrite the old one.
- Capture sign-off. Show who accepted the unit and on what date. Check your contract for what that sign-off covers.
- Keep it with the door. Months later, at a warranty walk, you pull one record that shows what was found, what was fixed, and who agreed.
That finished record is what ProPunch calls a Verified Turnover Record: a pass or fail on each item, photos, a walkthrough video, and client sign-off, all attached to one unit. It works offline and syncs when you're back in signal, so it works in the stairwell too.
Once every unit is built from the same template, you can also see which trades pass on the first walk and which keep coming back. That's the idea behind installer tracking: first-time-right numbers by crew, from records you already made.
FAQ
Should a multifamily punch list be organized by room or by trade?
Both, at different steps. Walk by room so you cover the whole unit in a steady order. Tag each item by trade so you can sort and send the lists afterward. Organize only by room and trades get mixed lists. Organize only by trade and you walk each unit seven times.
Do I need a different template for each unit type?
Keep one master per unit type, because the rooms and scope differ. A studio, a two-bedroom, and an accessible unit don't share the same room list. The trade sections and item fields stay the same, so the data still lines up across the building.
Who should fill out the punch list, the GC or the trade?
Your own crew should walk their own work first, before the general contractor or owner does. That catches the easy items early. The final verdict should come from someone other than the trade that did the work. Check your subcontract for who closes items and who signs.
What if a punch item belongs to more than one trade?
It happens often. A painter touches up after the cabinet install, then the flooring crew scuffs the wall. Pick the trade that owns the fix and note the cause in the description. Who pays for the repair is a contract question, so check your subcontract rather than settling it on the walk.
How long should I keep punch list records?
A safe habit is to keep them at least through your warranty period, since they show the unit's condition at turnover. Warranty and record-retention terms come from your contract, so check it for the exact requirements.
Start With the Template, Then Make It Stick
Copy the sample, adjust the trade sections to your scope, and run it on the next ten units. When the clipboards start to pile up, ProPunch turns the same template into a Verified Turnover Record for every door. See the options on the pricing page.